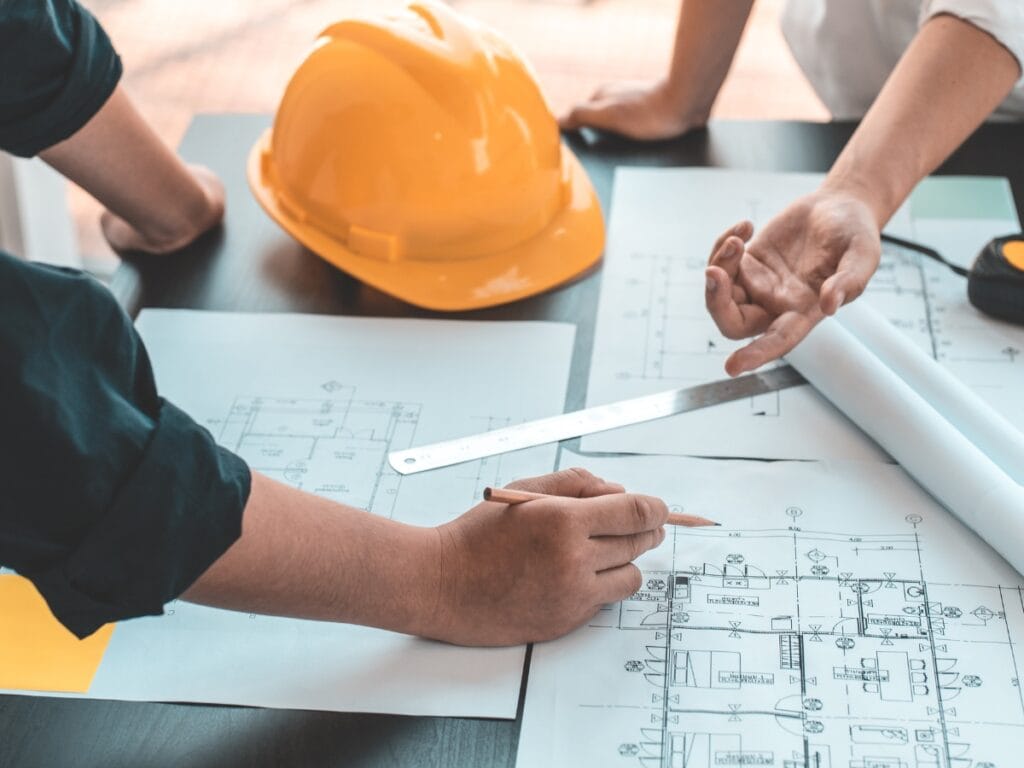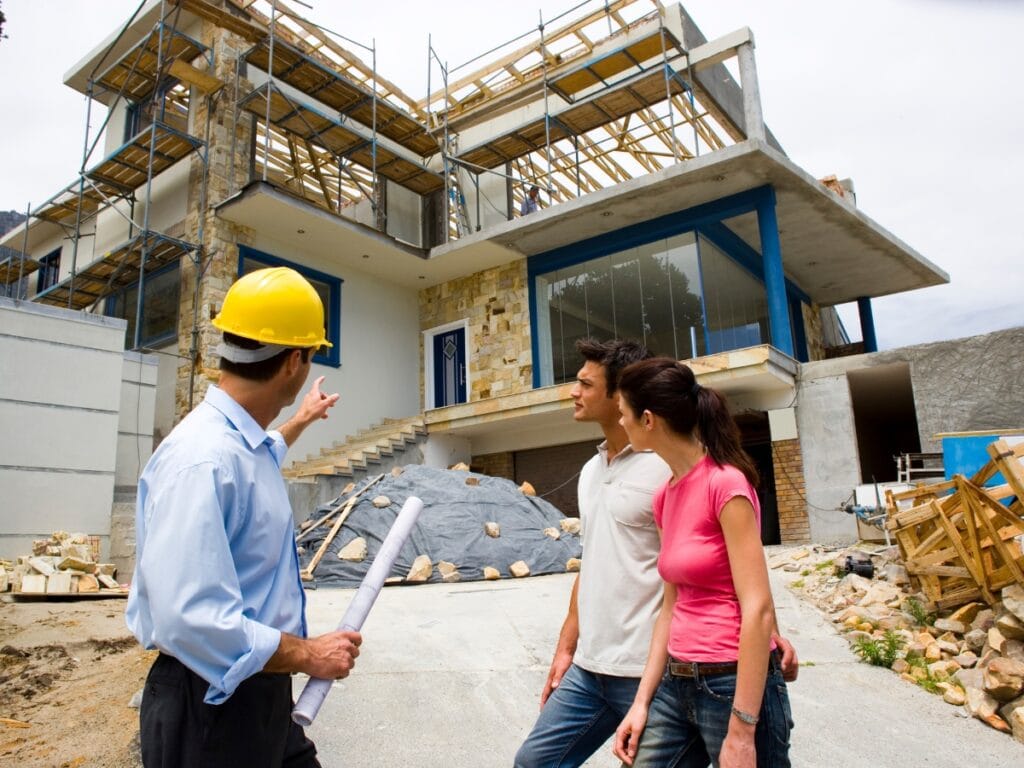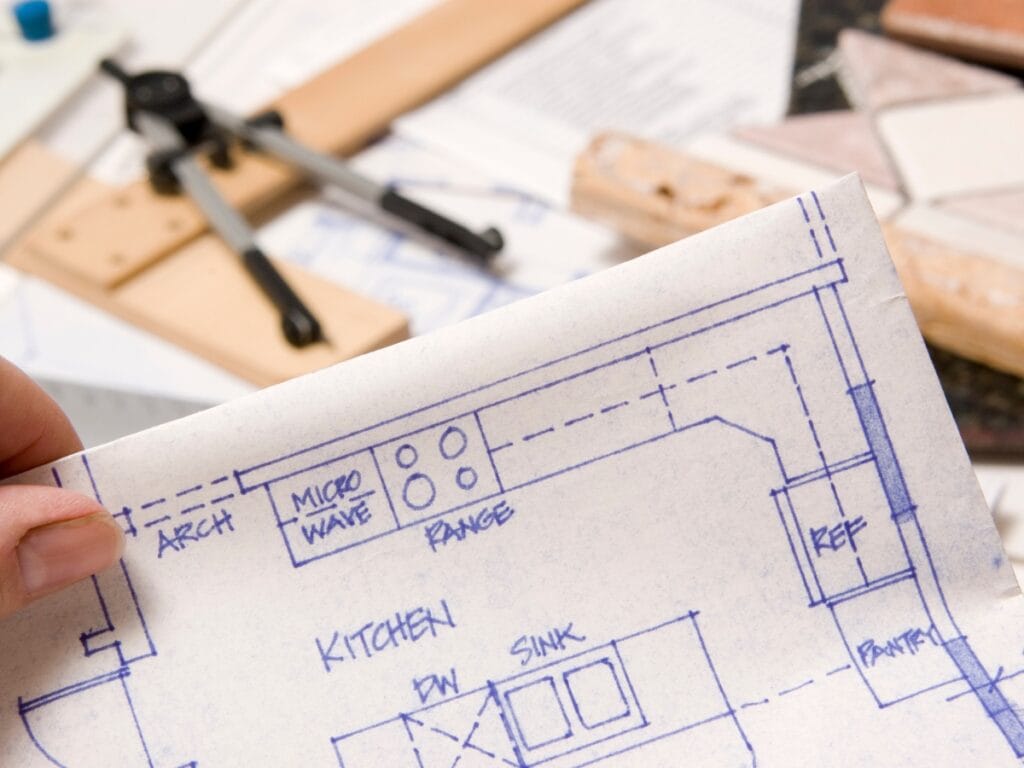
Starting a construction project without proper preparation can lead to delays, budget overruns, and unnecessary stress. Whether you’re planning a home renovation, new build, or commercial upgrade, having a clear plan in place before work begins is critical. A thorough preconstruction checklist helps ensure every detail is addressed before the first shovel hits the ground.
From reviewing design plans and permits to confirming budgets, timelines, materials, and remodeling contractor responsibilities, early preparation sets the foundation for a smoother build. Overlooking small details at this stage can create costly complications later.
Taking the time to organize documents, clarify expectations, and coordinate logistics allows your project to move forward with fewer surprises. With the right pre-construction checklist, you can approach your build with confidence, clarity, and a stronger chance of staying on schedule and within budget.
Pre-Construction Checklist: How to Prevent Delays Before Breaking Ground
What Are The Essential Steps In Construction Project Planning?

A solid pre-construction checklist starts with planning that is specific, documented, and tied to real constraints. The goal in this phase is not to make everything perfect. It is to reduce avoidable surprises once construction begins.
Most construction problems that show up on-site trace back to unclear scope, unrealistic budgets, incomplete documentation, or missed site conditions. Good planning prevents those issues by setting expectations early and putting the right information in front of the right people.
The first step is an initial consultation and project assessment. This is where stakeholders align on what is being built, what “done” looks like, and what limits exist around schedule, budget, and site conditions. Even for smaller projects, this conversation matters because assumptions are expensive once work begins.
From there, scope definition turns ideas into deliverables, including what is included, what is excluded, and what is considered an upgrade or alternate. A clear scope also helps keep timelines realistic because the team is not redesigning in the middle of construction.
Budget planning is the next major step. Early budgets should include more than materials and labor. You also want to account for permits, site preparation, design revisions, and contingency for unknowns.
This is where a practical pre-construction checklist helps the most, since it forces you to confirm what has been priced, what has not been priced, and what decisions still need to be made before the project can be accurately bid or scheduled.
How To Assess Project Feasibility And Define Objectives
Feasibility is about answering one question: can this project be built as intended, on this site, within this budget, and within the expected timeline? That evaluation usually includes site constraints, regulatory requirements, market realities, and financing considerations if applicable.
It also includes assessing whether the scope aligns with the property, meaning the layout, access, utilities, and existing conditions will support what you want to build.
Clear objectives keep the project from drifting. Instead of broad goals like “upgrade the building” or “improve layout,” effective objectives are measurable and tied to outcomes. That might mean defining target square footage, specifying performance requirements for systems, or setting a schedule milestone tied to occupancy.
Using a simple SWOT-style review can help, but the key is translating what you learn into decisions that shape the plan. If you want a pre-construction checklist that actually reduces risk, this is where it begins.
What Are The Key Components Of A Preconstruction Planning Process?
Preconstruction planning is where the project becomes real. It involves coordinating the design team, confirming the site requirements, and making sure the paperwork and decisions are ready before crews arrive.
Consultation and planning should include architects, engineers, and key stakeholders so the plans reflect both design intent and buildability. This is also when you should identify long-lead items and determine whether selections need to be finalized early to avoid delays.
Property evaluation is another core component. The site needs to be assessed for zoning, setbacks, access, drainage, and any environmental constraints that could affect design or cost.
Utility locations and capacity should be confirmed early, since assumptions about water, sewer, gas, or electrical service can derail a schedule quickly. A good pre-construction checklist will also include a review of existing conditions, especially for remodels, because hidden issues behind walls or under slabs are common cost drivers.
Before construction begins, a final preconstruction walkthrough and document review help close gaps. This is not just a visual check. It is a practical review of drawings, specs, allowances, and responsibilities so everyone knows what is happening on day one.
When the plans match the site, the budget matches the scope, and the approvals are in motion, the project starts cleaner and typically finishes with fewer change orders and fewer delays.
How Do You Prepare A Construction Site Effectively?
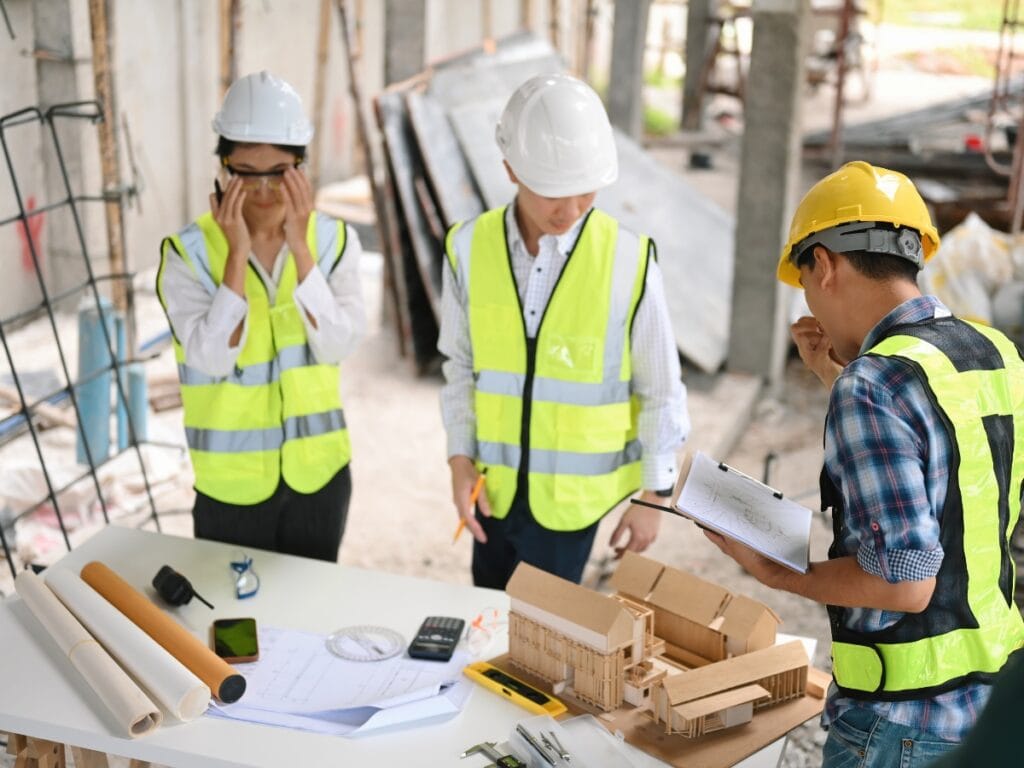
Site prep is where a pre-construction checklist earns its keep. Before any excavation or material deliveries, the goal is to confirm the site is safe, buildable, and legally ready for work. When this step is rushed, projects often run into the same problems: surprise drainage issues, unclear property lines, permit delays, or rework caused by missed hazards. A thoughtful approach keeps the build moving and reduces the chance of schedule setbacks.
A strong start begins with a site assessment. This is more than walking the lot and eyeballing the grade. You are looking for existing structures, access limitations, overhead lines, drainage patterns, and anything that could affect staging or equipment movement.
If the project is a renovation, the assessment should also include a realistic review of existing conditions, since hidden issues can affect both timeline and budget once demolition begins.
Permits and inspections are also part of site readiness. Even if plans are approved, work can stall if permits are not posted, inspections are not scheduled correctly, or required documentation is missing. A reliable pre-construction checklist makes sure that approvals are in place before work begins, so crews are not waiting on paperwork.
Quality control belongs here, too. If you decide upfront how you will document conditions, verify elevations, and confirm layout, you reduce mistakes later. It is easier to correct a plan on paper than to correct a foundation that was laid out wrong.
What Are The Site Preparation Steps Including Environmental Assessments?
Environmental considerations can affect how and when the site can be developed. Depending on the property and location, you may need to consider erosion control, stormwater management, protected vegetation, or soil conditions that require mitigation. The point of an environmental review is not to slow the project down. It is to identify constraints early so that design and construction methods can account for them.
Site evaluation during this stage typically focuses on soil quality, drainage, and existing vegetation. Poor drainage can require grading changes, additional drainage infrastructure, or different foundation planning.
Soil conditions can influence excavation methods, compaction requirements, and the suitability of the pad or subgrade. If the project requires environmental permits, those should be secured before clearing or grading begins, not after equipment is already on-site.
Good planning also includes basic site controls that protect the property and surrounding areas during construction. That may involve defined access points, temporary fencing if needed, and erosion control measures that keep sediment from moving off-site. The specifics vary by project, but the purpose is always the same: protect the build area and avoid preventable compliance issues.
How To Conduct Land Surveying And Site Clearing
Surveying and clearing set the physical boundaries for the work. A land survey confirms property lines and helps establish the correct layout for the building footprint, setbacks, and grading plan.
This is also when you want to confirm easements and any restrictions that may affect where you can build or place utilities. Skipping a survey or relying on old information can create expensive corrections later.
Once boundaries and layout are confirmed, site clearing removes what stands in the way of construction. That can include vegetation, brush, debris, and non-structural features that interfere with access or excavation. Clearing should be planned alongside staging needs, since you will want to preserve space for materials, equipment, and safe movement on-site.
When surveying and clearing are handled carefully, the rest of the build starts on solid ground. That is why a pre-construction checklist should treat site prep as a true phase, not a quick task to check off. It is one of the best ways to protect the schedule, the budget, and the overall quality of the project.
What Is Included In A Building Permit Checklist For Compliance?

A building permit checklist is one of the most practical parts of a pre-construction checklist because it forces clarity before work begins. Permitting is not just a formality. It sets the legal framework for what can be built, where it can be built, and how it must be inspected.
When permitting is handled loosely, projects run into avoidable delays, failed inspections, and costly rework. A clear checklist keeps the team organized and reduces confusion between owners, designers, and contractors.
At a minimum, the checklist should define the scope of work in plain terms. That means listing what is being built or changed, which systems are affected, and whether the project involves structural work, mechanical changes, or layout modifications.
This helps prevent mismatches between what was designed, what was priced, and what is permitted. It also helps inspectors understand the intent of the project, which can speed up reviews.
Permit responsibility should also be spelled out early. Depending on the project, responsibility may fall on the general contractor, owner, architect, or licensed trade. The important part is that it is assigned clearly and tracked, with deadlines and required submissions listed.
The final core piece is the inspection schedule. A permit checklist should identify the inspection points tied to the project, since missing an inspection can halt progress or require work to be opened back up for verification.
Which Permits Are Required Before Construction Begins?
Permit needs vary by location and project type, but most projects fall into a few predictable categories. Building permits are typically required for new construction, structural changes, additions, and many remodels that affect layout, load-bearing elements, or major systems.
Zoning permits or zoning approvals may be required to confirm setbacks, height limits, use restrictions, or lot coverage compliance before a building permit can be issued.
Some projects also trigger environmental requirements, especially when grading, drainage, or site disturbance is involved. Even when a project seems straightforward, permit needs can expand based on what is discovered in the scope.
For example, changing walls may require electrical updates, which may require a separate permit or a trade permit handled by a licensed electrician. Plumbing modifications, water heater moves, gas work, and fire safety systems can also require specialized permits depending on the jurisdiction.
This is where the pre-construction checklist matters again. It helps you confirm permit needs early so the project does not stall halfway through planning because an overlooked permit is suddenly required.
How To Navigate Regulatory Compliance And Documentation
Regulatory compliance becomes easier when documentation is treated as part of project management, not an afterthought. Contractor licensing should be verified before work begins, including any required trade licensing for electrical, plumbing, or mechanical work. This protects the project and reduces the risk of permit complications.
Documentation also matters during construction. Scope changes should be recorded, and material substitutions should be tracked. If the project shifts from the permitted plan, you may need revised drawings or permit updates. Keeping a clean record of what changed and why makes it easier to resolve issues with inspections and helps avoid disputes later.
Quality control ties everything together. When work is checked against plans at key points, it is less likely that problems will be discovered at inspection time. A strong pre-construction checklist connects permitting, documentation, and inspection planning into one process, which is what keeps projects moving without unnecessary stops and starts.
How To Estimate And Manage Preconstruction Budgeting?
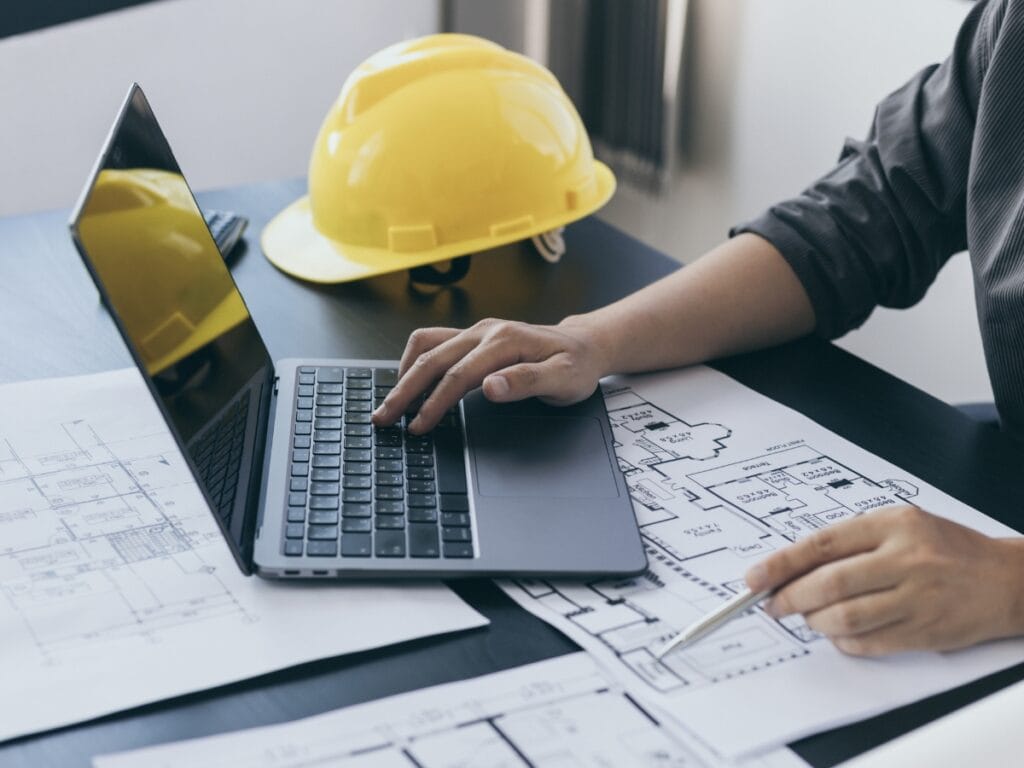
Preconstruction budgeting is where a pre-construction checklist can save a project from drifting. Before construction starts, you are not just picking a number that feels right. You are building a plan that connects scope, schedule, and real-world pricing.
When budgets fail, it is often because the scope was vague, the estimate was based on outdated assumptions, or key cost categories were never accounted for. A disciplined budgeting process keeps the project financially realistic and reduces the chance of mid-project compromises.
Start by defining goals and scope in clear terms. This includes what is being built, what is staying, and what is considered optional. It also means identifying finish levels, system requirements, and any site constraints that can affect cost. Once the scope is defined, research costs using current pricing from suppliers and trades.
Even small swings in material costs or lead times can change the budget, especially when multiple systems are involved. A line-item budget brings structure to the estimate because it breaks the project into trackable parts instead of one lump sum. That is a core part of any pre-construction checklist because it forces you to price what you are actually doing, not what you think you are doing.
What Are The Methods For Accurate Cost Estimation?
Accurate estimates come from comparing multiple sources and grounding the numbers in a clear scope. One of the most reliable methods is getting more than one quote for major categories, especially trades and long-lead materials. This helps you spot outliers and understand what is included versus excluded. If one quote is dramatically lower, it may be missing a scope item that will reappear later as a change.
Another key method is tightening the scope of work before pricing. Vague language creates vague bids. If the plan does not specify allowances, quantities, and finish expectations, pricing will vary wildly, and the budget will not hold.
Line-item budgeting also improves accuracy because it forces each cost area into the open. Instead of guessing, you can validate specific numbers, such as excavation, concrete, framing, mechanical, electrical, and interior finishes, then adjust based on actual bids.
Finally, review the estimate against site conditions and schedule. For example, limited access can increase labor time. Permit timing can affect start dates. Both can change costs even when the design stays the same.
How To Allocate Budget For Materials, Labor, And Contingencies
A practical budget divides costs into categories that match how construction is actually executed. Materials and labor are the obvious components, but do not forget equipment, permits, temporary utilities, waste removal, and general conditions like site setup and protection. If those categories are not accounted for, the budget can look healthy on paper while still being underfunded in reality.
Contingency planning is also part of budgeting, not a backup plan for poor estimating. Setting aside a percentage for unknowns is common, especially for remodels where hidden conditions are more likely. The right percentage depends on project complexity, but the point is consistent: you want room for surprises without derailing the project.
Tracking spending during preconstruction matters too. As bids come in and selections are finalized, update the budget in real time. A pre-construction checklist should include a simple process for documenting changes, adjusting allowances, and confirming that every decision still fits the financial plan. This is how budgets stay usable, not just optimistic.
What Are Best Practices For Construction Risk Management In Preconstruction?
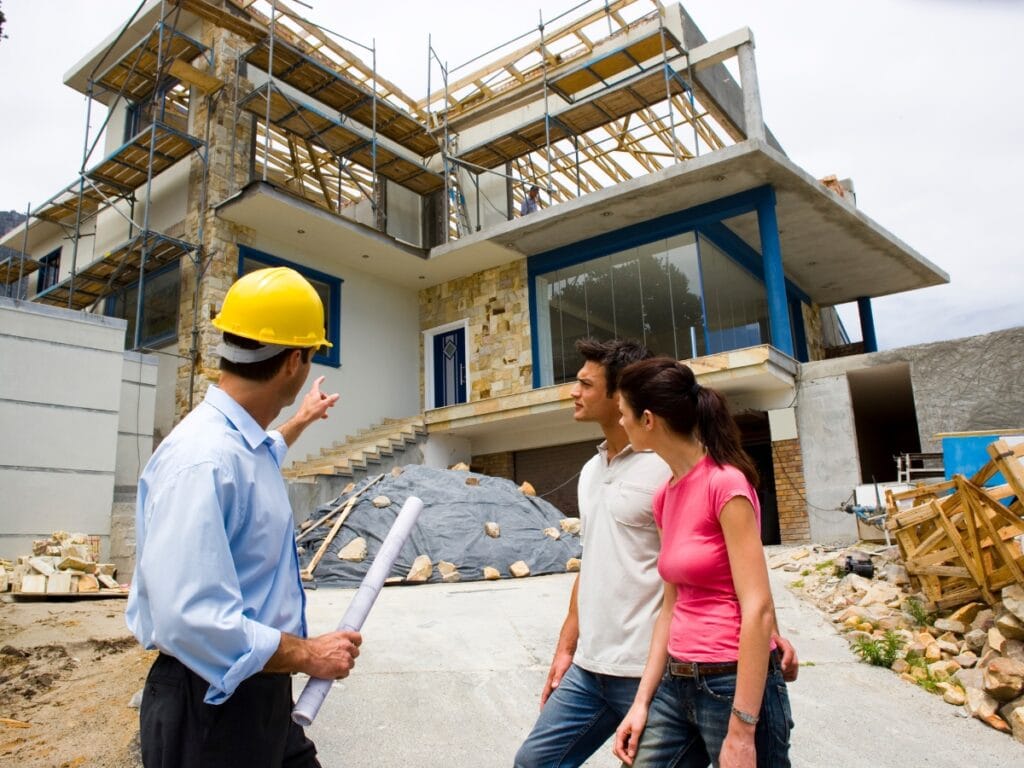
Risk management in preconstruction is less about worst-case scenarios and more about avoiding predictable problems. A strong pre-construction checklist helps you spot gaps before they turn into delays, change orders, or disputes.
Most project risk comes from the same places: unclear scope, missing documentation, poor site information, and misaligned expectations between the owner, design team, and builder. When you treat risk management as part of planning, you give the project a better chance of staying on schedule and on budget.
A smart starting point is verifying licensing and insurance. This is not just paperwork. It confirms that the people doing the work meet basic requirements and that there is coverage if something goes wrong. It also helps avoid situations where a project stalls because a trade cannot pull permits.
Experience matters too, but it should be evaluated in context. A contractor may be great at one type of build and not the right fit for another. Reviewing qualifications, similar project history, and team capacity helps you understand whether the project is realistic for the people involved.
Clear communication is the third pillar. Risk increases when decisions are made informally or when information lives in someone’s inbox instead of the project files.
A preconstruction plan should set expectations around who approves changes, how questions are handled, and how updates are shared. When everyone is working from the same information, the project is less likely to drift.
How To Identify And Assess Potential Risks Early
Early risk identification works best when it is structured. During the initial consultation, the team should discuss known constraints and likely pressure points, including schedule targets, budget limits, site access, permitting complexity, and long-lead items.
This is also the moment to call out decisions that still need to be made. Undefined selections, incomplete drawings, and unclear responsibility for certain tasks are all common sources of risk.
Experience and communication go hand in hand here. The people who build and manage projects every day often recognize patterns that are easy to miss during planning. Encourage the team to raise concerns early, especially around buildability, sequencing, and site conditions.
Reviewing portfolios can help too, but the goal is not to show off work. The goal is to identify challenges that tend to repeat, such as drainage issues, utility conflicts, or scope creep that starts with small “quick changes” and grows into schedule impacts.
A useful way to assess risk is to ask two simple questions about each potential issue: how likely is it, and how costly would it be if it happened? That makes it easier to prioritize what needs attention now versus what can be monitored.
What Strategies Mitigate Risks During Preconstruction Planning?
Mitigation is mainly about tightening inputs before construction begins. Property evaluation is one of the biggest levers. A thorough site review, including survey information and any relevant soil or drainage data, reduces surprises that lead to redesign or rework.
If the project involves an existing structure, documenting current conditions is just as important. Renovation work carries different risks than new construction because hidden issues can change the scope quickly.
Clear communication is also a mitigation tool. Establish a process for documenting decisions, tracking changes, and confirming who is responsible for each item. This reduces conflicts later and keeps the scope aligned with the budget. Quality-driven execution should start in preconstruction, not after framing.
That means reviewing plans for completeness, confirming that details are buildable, and ensuring that the schedule matches the scope. Ultimately, the best risk management is a pre-construction checklist that is specific to the project, updated as decisions are made, and used consistently by everyone involved.
How To Select Contractors And Partners For Preconstruction Success?

Choosing the right team is one of the most important parts of a pre-construction checklist because the people you hire will shape how smoothly the project runs.
Even with a solid design, projects can run into delays and cost overruns when contractors are not aligned on scope, quality expectations, and communication. Preconstruction is your opportunity to reduce that risk by selecting partners who can plan well, document well, and execute consistently.
Start with the basics: licensing and insurance. This step is not about being overly cautious. It protects the project from preventable headaches, especially if permits, inspections, or trade-specific licensing requirements come into play. It also sets a professional baseline for accountability.
From there, move into experience and qualifications. Look for contractors who have completed projects similar in size and complexity, not just in appearance. A contractor might have beautiful photos but limited experience managing the kind of scheduling, coordination, or permitting your project requires.
Portfolio review can help, but it should be paired with practical questions. Ask what challenges came up on those projects and how the team handled them. Listen for clear explanations, not vague reassurance. This is where your pre-construction checklist should guide the conversation, since it helps you compare contractors using the same criteria instead of going with a gut feeling.
What Criteria Should Guide Contractor And Partner Selection?
Experience and expertise matter most when they match the project’s needs. A strong contractor should be able to explain their approach to scheduling, sequencing, and coordinating trades.
They should also be comfortable working with your designer, engineer, or other stakeholders without turning every question into a conflict. If the project involves a complicated site, a phased build, or tight deadlines, you want someone who has dealt with those constraints before.
Clear communication is another key selection point. The best teams do not just communicate often. They communicate clearly, in writing, and in a way that keeps decisions organized. In preconstruction, pay attention to response time, clarity, and whether they ask good questions. Contractors who ask detailed questions early are often easier to work with because they are trying to avoid surprises later.
Quality-driven execution should show up in how the contractor talks about process, not just results. Ask how they handle inspections, punch lists, and material substitutions. Ask how they document changes. A contractor who takes quality seriously usually has a system for verifying work as it progresses, instead of relying on fixes at the end. That mindset protects the schedule and reduces rework.
It also helps to evaluate whether the contractor’s estimating is tied to a clear scope. If the bid is missing details, packed with vague allowances, or unclear about what is included, that is a sign the project may be difficult to manage once it starts.
How To Engage Stakeholders And Ensure Transparent Communication
Even a great contractor can struggle if stakeholders are not aligned. Preconstruction should include a communication plan that defines who makes decisions, who approves changes, and how updates are shared.
This is where a pre-construction checklist becomes a coordination tool, not just a planning document. If everyone knows where information lives and how decisions are recorded, the project is easier to manage and less likely to stall.
Transparent communication starts with setting expectations early. Establish meeting rhythm, reporting format, and how questions are routed. Some projects need weekly check-ins. Others may need more frequent coordination during design and permitting. The goal is consistency, not constant messaging. If updates are predictable, stakeholders stay informed without micromanaging.
Hands-on oversight matters too, but it does not need to be intrusive. Oversight can simply mean reviewing progress against the plan, documenting changes, and confirming that decisions are made before they become urgent. When contractors and stakeholders have a shared process, issues are addressed earlier, and small problems are less likely to become expensive ones.
A well-built pre-construction checklist supports all of this by keeping contractor selection, scope clarity, and communication planning in the same framework, which is what sets up a smoother construction phase.
Conclusion
Proper preparation is the foundation of any successful construction project, saving time, money, and stress by ensuring every detail is addressed before groundbreaking.
From securing permits and finalizing budgets to establishing clear communication channels, a thorough pre-construction checklist sets the stage for a smooth, efficient build.
For expert guidance through every phase of your project, trust the expert construction services and experienced team at Construction Atlanta Company & Investments. Ready to build with confidence? Call 123-456-7890 or fill out our online form for a free construction consultation today. Let us help you lay the groundwork for a successful project from day one.